Daikin AC, Home Assistant and Local control
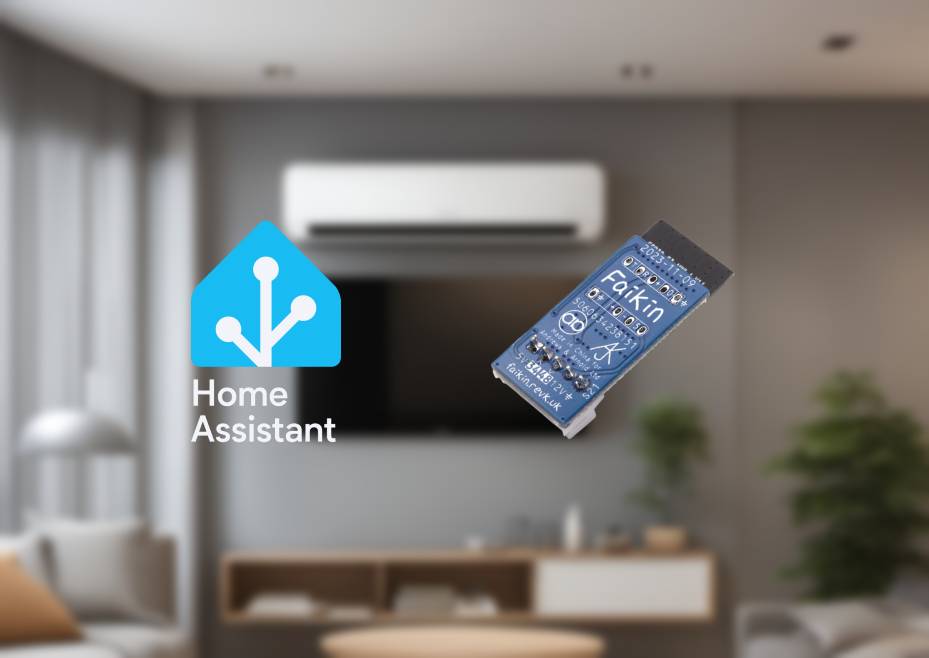
Air Conditioning and Home Assistant
When we bought our apartment, the previous owners had installed a Daikin minisplit AC in the living room. Great, another thing to ‘smartify’ with Home Assistant1.
I first did what I always have done in previous places and used a Broadlink Mini and the SmartIR integration to enable smart control of the minisplit using Home Assistant. IR control is great but is lacking in some features, mainly feadback. If your device misses the IR command, well tough, they are now out of sync and you are none the wiser, and your AC did not turn on …
Daikin Modules and a random find
Daikin does make a wifi module to be added to the mini split but it has two major shortcomings:
- the price : I found them for 50-90 Euros (depending on the version you need) - way to much …
- cloud control only: The Daikin app used to have local control but after a couple of updates they have moved to full cloud control meaning that without an Internet connection you can say bye bye to your aircon …
During my research for the Daikin module, I came across this post on the Home Assisant forum: Need Daikin Wifi? Use the Open-Source Faikin ESP32 Hardware instead of the official wifi Modules and this github repo ESP32-Faikin by “RevK’.
The promise is great: code and a PCB to enable plug and play wifi function with HomeAssistant via MQTT. Better yet the PCB is sold on Amazon UK and based on the venerable ESP32.
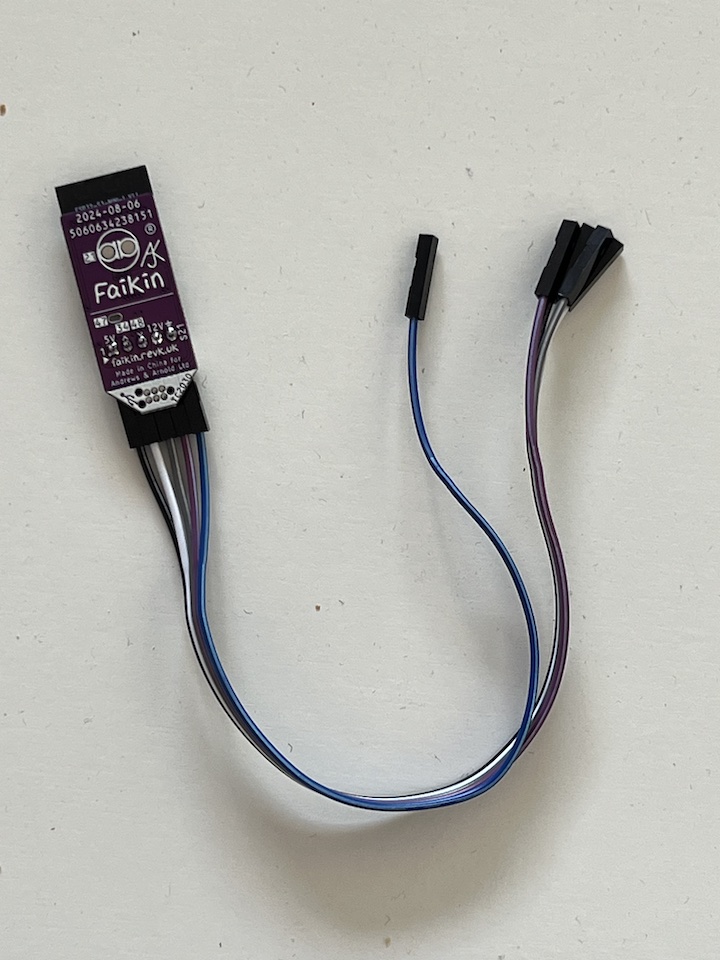
I decided to buy one along with some header wires, after all …

Hardware setup
I received the PCB and header wires rather quickly, thanks Amazon
Now comes the fun part, hooking it all up. But first a warning ⚡ 🚨:
Mini split units usually come apart rather easy. A screw or two and then a few clips hold the chassis on.
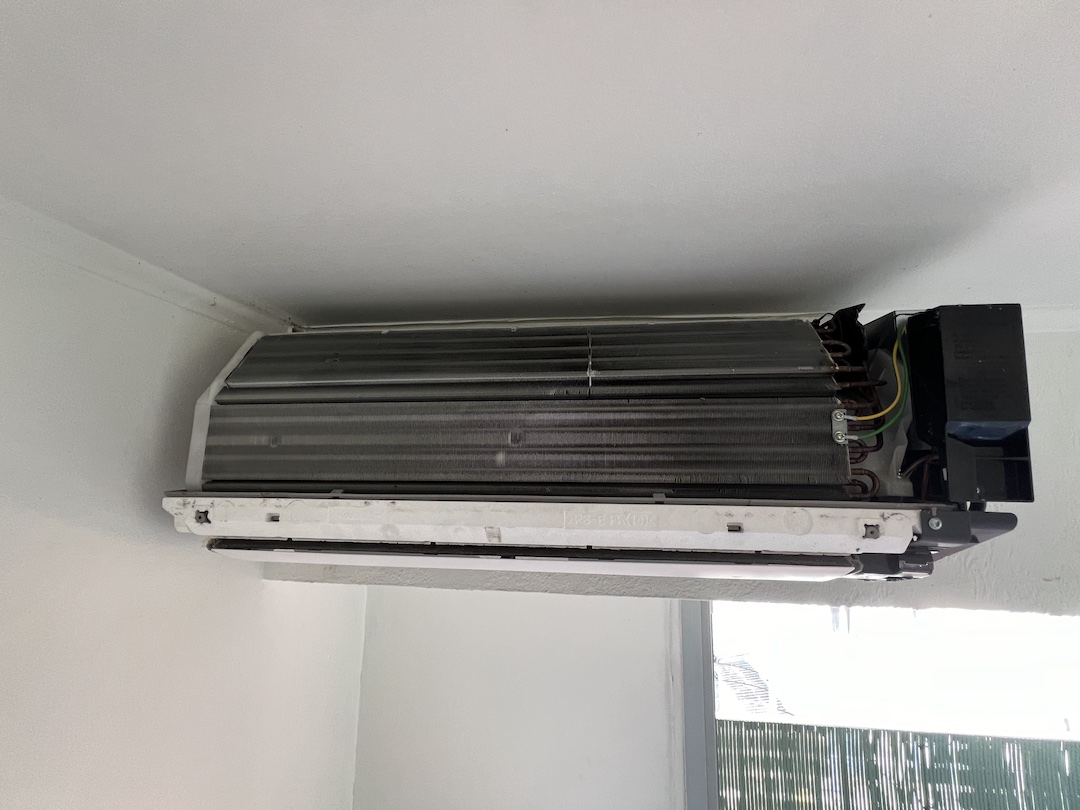
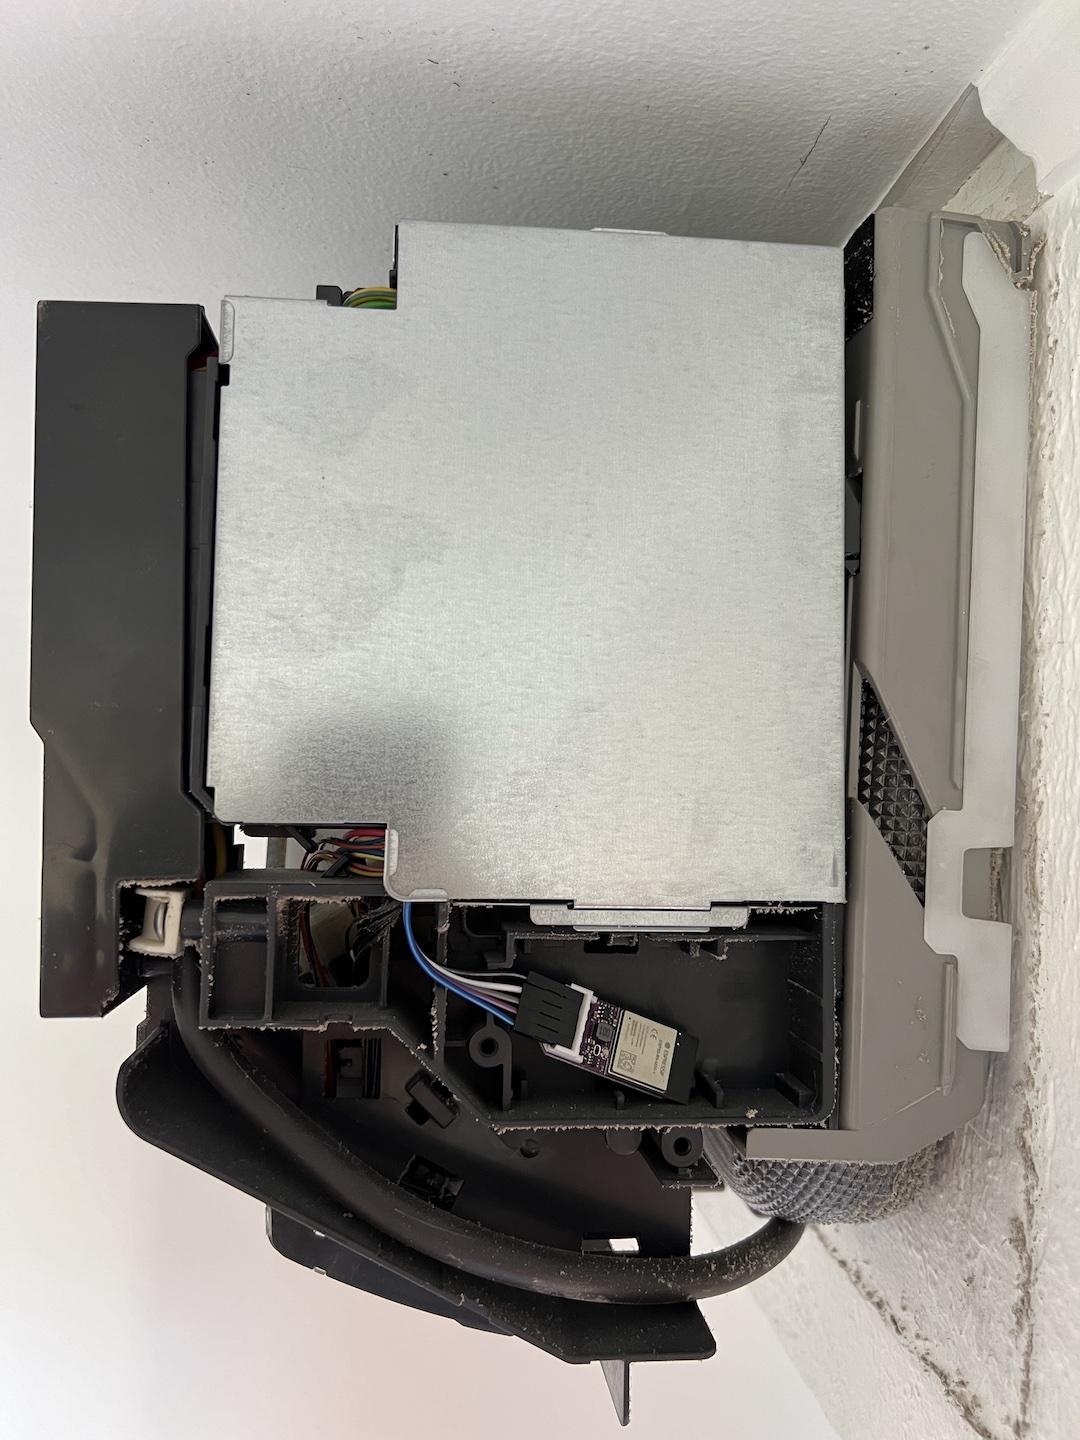
Once the AC has it’s cover off we need to look for the main circuit board. Usually located on the side. And for my AC least the plug we need to use is labelled S21. You don’t want to touch anything else in here. Especially any capacitors ⚡
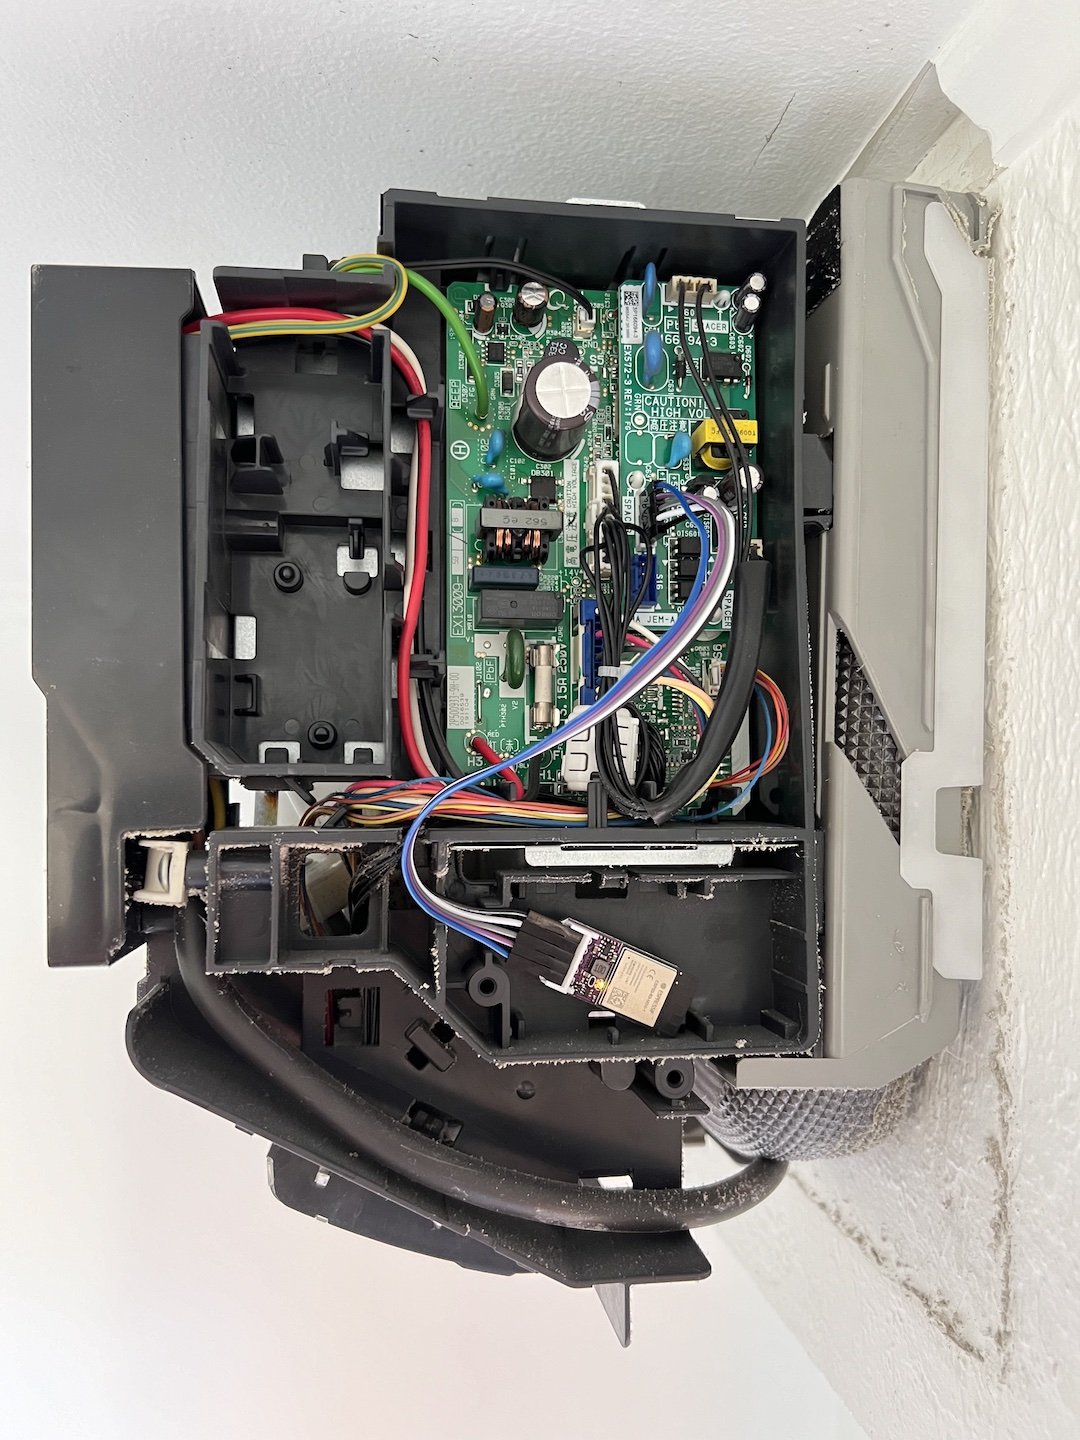
Once installed, we can put the metal covering back on. And there is a perfect space for the Faikin PCB below.
After putting all the covers back on the AC unit we can turn our main breaker back on.
You did turn it off right? 👀
Once your AC has it’s power back you will be able to connect to the Faikin via wifi

It will then ask you to enter your wifi network and MQTT server details

Once done you will be presented with some AC controls and guess what they work instantly.

Finally we need to setup the Home Assistant side.
Home Assistant
Not much to do here. If your MQTT broker is setup correctly in Home Assistant. Your AC unit should show up on it’s own.
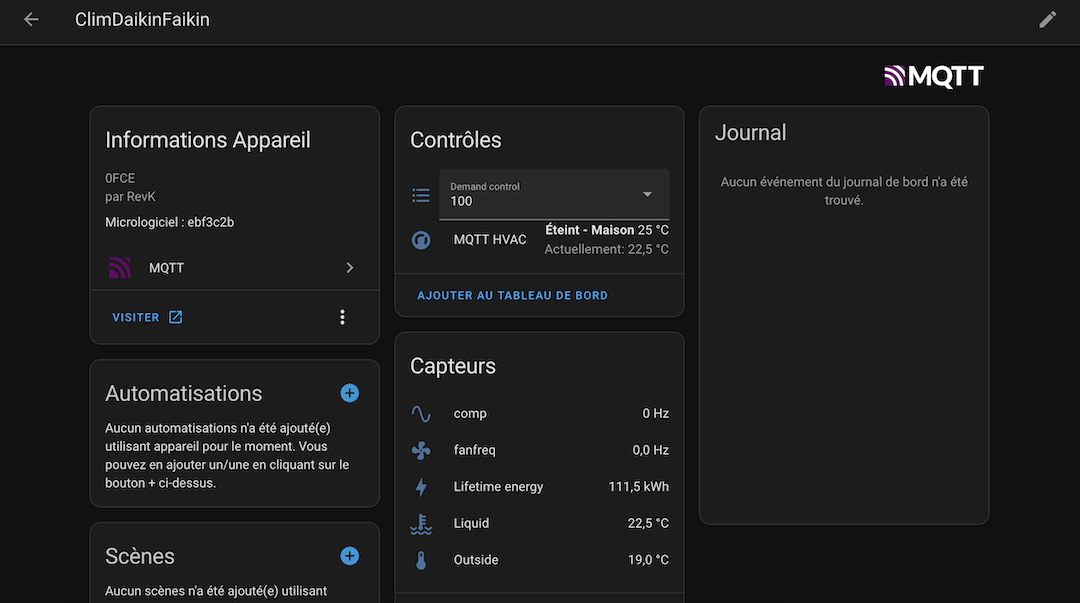
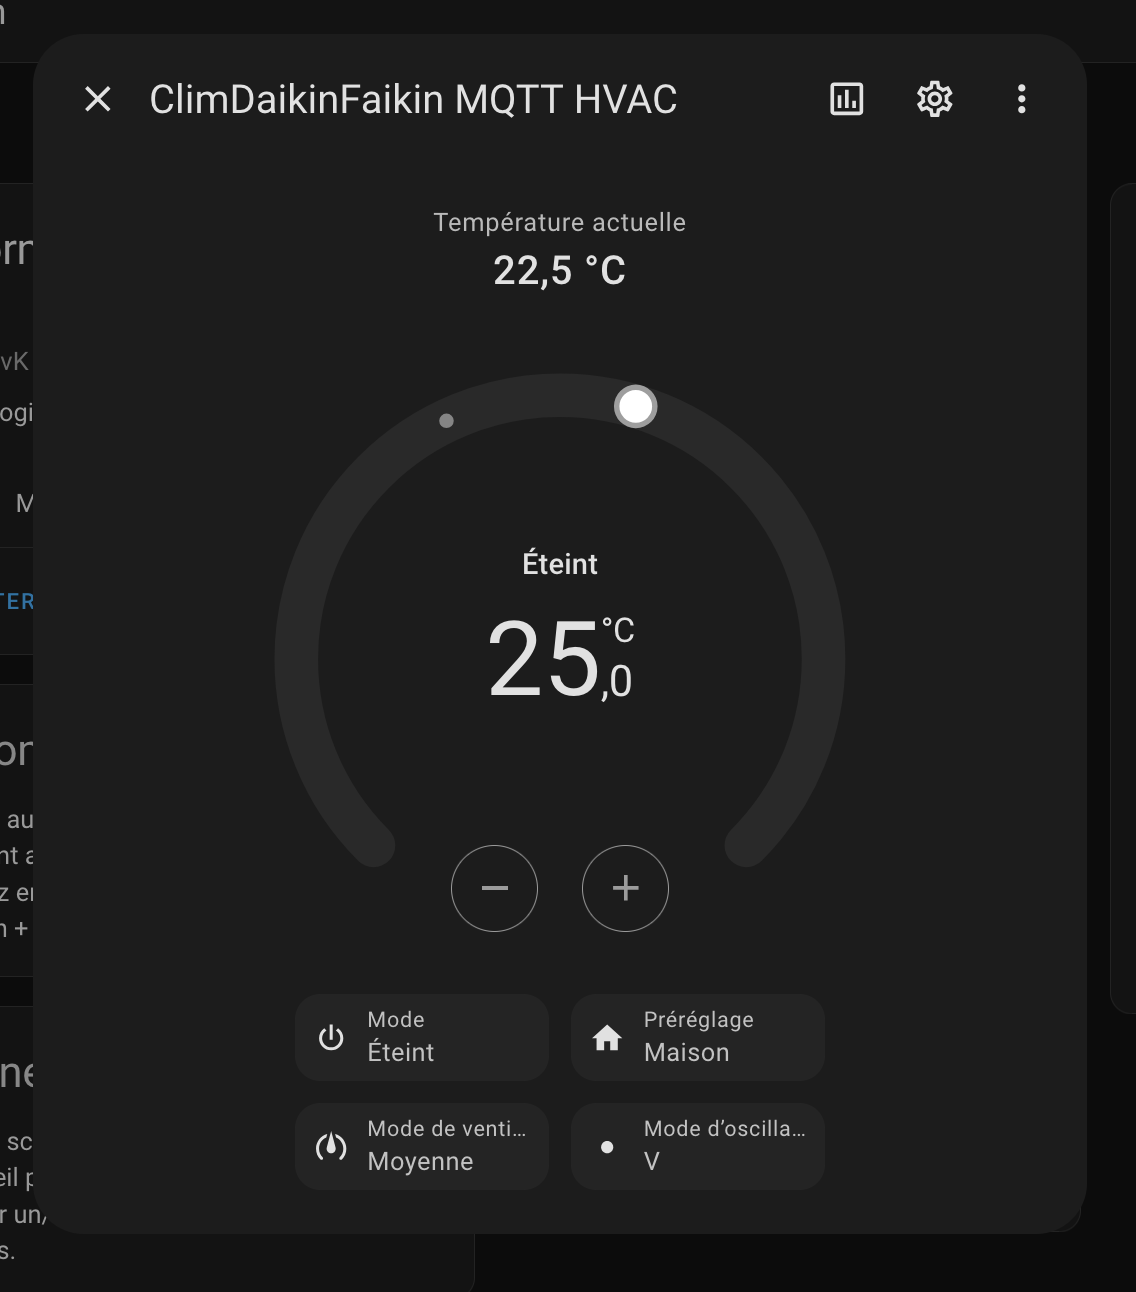
With that we now have full local control over our AC unit which includes feedback of the AC’s state to Home Assistant.
No more wondering why the room is warm and why the AC did not turn on.
Note: some links may be affiliate links. As an Amazon Associate I may earn a small commission from qualifying purchases at no extra cost to the buyer.
Home Assistant - Open source home automation that puts local control and privacy first. Powered by a worldwide community of tinkerers and DIY enthusiasts. ↩︎

If you find this post helpful, please consider buying me a coffee ☕️ (or a beer 🍺). Thank you!
